Category: Automation

  • Anthropic’s Claude Code Postmortem (Apr 23): Why Quality Dropped, What Was Fixed, and How to Avoid Repeat Pain

    Anthropic’s Claude Code Postmortem (Apr 23): Why Quality Dropped, What Was Fixed, and How to Avoid Repeat Pain

    When users say “the model got worse,” the uncomfortable possibility is that your harness did. Anthropic published a detailed postmortem on April 23 explaining why Claude Code felt degraded for weeks—and what changed to fix it.

    Key takeaways

    • Anthropic attributes most complaints to three overlapping changes in Claude Code’s harness (not a single model regression).
    • All issues are reported as resolved as of Apr 20 in Claude Code v2.1.116.
    • If you’re running internal “Codex-like” workflows, this is a cautionary tale: defaults, caching, and context management can silently erode outcomes.

    What actually went wrong (high-level)

    • Defaults: small changes to reasoning or system instructions can trade latency for quality without obvious release signals.
    • Context/thinking lifecycle: clearing or truncating “older thinking” to reduce latency can change how the agent behaves after idle time.
    • Cross-component bugs: issues can sit in the intersection of context management, extended thinking, and API behavior.

    Action checklist for teams

    • Record your exact toolchain version (client, SDK, prompts) whenever you ship a workflow change.
    • Keep an internal eval suite that detects 2–5% quality drops before rollout.
    • Separate “model changes” from “harness changes” in your incident process and postmortems.

    Source

  • Automated Betting on Polymarket: Why a “No-Only” Bot Still Loses Money

    Automated Betting on Polymarket: Why a “No-Only” Bot Still Loses Money

    The “No-only bot” story is compelling because it points at a real pattern: in many prediction markets, most contracts resolve to “No.” But “most outcomes are No” is not the same thing as “buying No is profitable.” A strategy can be directionally correct and still lose money once you include price, fees, selection bias, and tail risk.

    Below is the practical way to think about a “No-only” Polymarket bot: what’s true, what’s hype, and how to evaluate it like a trader (not a gambler).

    Key takeaways

    • A high “No win-rate” does not guarantee positive expected value (EV); price matters more than frequency.
    • Fees, spread, and slippage can turn a “small edge” into a systematic bleed.
    • The biggest risk is tail events: rare “Yes” resolutions can wipe months of small wins.
    • The only credible version of this strategy requires market selection + sizing rules + stop conditions.
    • If you automate it, automate the analysis and guardrails first—not the clicks.

    What happened (and why it went viral)

    A creator open-sourced a bot that only buys “No” across Polymarket markets, based on the observation that a large share of markets resolve “No.” The bot’s results were not the “free money” many expected—losses persisted despite the win-rate narrative.

    That outcome is exactly what you’d predict if the bot ignores two basics:

    1) If the market already expects “No,” “No” will be expensive, and 2) A high win-rate strategy can still have negative EV if the losses are larger than the wins.

    The core misconception: “Most markets resolve No” ≠ “No is underpriced”

    Markets price probabilities. If a market believes “No” is 80%, then “No” should trade around $0.80 (ignoring fees/spread). If you buy “No” at $0.80 repeatedly, you need:

    • either “No” to be even more likely than 80% in the markets you pick, or
    • a mechanism to buy “No” only when it’s temporarily mispriced (liquidity shocks, news lag, bad order book).

    Without that, a “No-only” bot is basically buying the consensus.

    Why bots lose money even when they’re “right”

    1) Fees and friction

    Even small per-trade fees, plus the bid/ask spread, accumulate. If your “edge” is 1–2 points and you pay 1 point to enter and 1 point to exit (spread + fees), the edge is gone.

    2) Tail risk (the hidden killer)

    If you target lots of “easy No” markets, your average win is small because “No” is priced high. But the occasional “Yes” loss can be huge relative to your average win.

    That produces a classic profile:

    • many small wins,
    • rare but massive losses,
    • and an equity curve that looks stable until it isn’t.

    3) Market selection bias

    “No” is most likely in trivial markets—but those are often illiquid and badly priced, or they have resolution ambiguity (which is its own risk).

    A real evaluation workflow (that’s actually automatable)

    If you want to evaluate a “No-only” strategy seriously, do this before placing a single automated bet:

    Step 1 — Build a dataset

    For each market you trade (or sample), capture:

    • market URL + category
    • timestamp
    • “No” entry price
    • size
    • fees paid
    • resolution outcome
    • time to resolution
    • max adverse excursion (how far price moved against you)

    Step 2 — Compute EV with fees

    Compute profit per trade net of fees and spreads. Then slice results by:

    • category (sports, politics, crypto, earnings, etc.)
    • liquidity/volume buckets
    • time-to-resolution buckets

    If your EV disappears in any slice, your “edge” is probably not robust.

    Step 3 — Stress test tail losses

    Simulate drawdowns by re-ordering outcomes and forcing clusters of losses. A strategy that survives only in “average” conditions is not deployable.

    Step 4 — Add hard guardrails

    At minimum:

    • max daily loss
    • max exposure per category
    • max open positions
    • “stop trading if order book is too thin”
    • “stop trading if resolution source is ambiguous”

    Step 5 — Then automate (if you still want to)

    Automate screening + sizing + reporting first. If you automate execution, do it with explicit limits and audit logs.

    The business angle: why this matters beyond one bot

    This isn’t just a trading meme. It’s a pattern you’ll see across AI + markets:

    • People automate a simple heuristic (“No wins more”)…
    • …then discover the real edge is in data quality, risk controls, and process.

    That’s the same story behind wallet analyzers and agent workflows: automation is a force multiplier for good discipline—and a blowtorch for bad assumptions.

    Sources and methodology

    • Protos: the original “No-only bot” story (context + creator attribution): https://protos.com/this-bot-only-bets-no-on-polymarket-and-its-creator-keeps-losing-money/
    • Polymarket documentation (fees, mechanics, and resolution rules): https://docs.polymarket.com/

    *Keep Reading: [How AI is transforming Polymarket trading strategies](https://aitrendheadlines.com/claude-polymarket-wallet-analyzer/).*

  • How to Build a Folder‑First Second Brain with AI (Karpathy‑Inspired, Agent‑Ready)

    How to Build a Folder‑First Second Brain with AI (Karpathy‑Inspired, Agent‑Ready)

    Most “second brain” systems fail for one reason: they turn knowledge into an app you babysit.

    The folder‑first approach flips that: your knowledge base is plain text in a simple directory structure, and AI becomes the interface—summarizing, searching, and compiling insights on demand. This idea has been popularized recently in a “Karpathy‑inspired” framework: keep it local, keep it boring, and make the AI do the glue work.

    The upgrade for 2026 is that you can now pair this with an agentic workflow (e.g., Claude Code) so the system maintains itself: ingest → normalize → index → review.

    Key takeaways

    • Your “second brain” can be folders + text files; AI is the UI.
    • The real leverage is a schema file that forces consistency.
    • Agent workflows turn it from “notes” into an operational asset: weekly reports, decision logs, and searchable memory.
    • Local‑first storage reduces risk and lock‑in—but only if you handle backups and sensitive data correctly.

    The 3‑folder architecture (the simplest version that works)

    Create one root folder, then three subfolders:

    1) /inbox/ — raw capture (messy notes, links, transcripts) 2) /wiki/ — cleaned, structured pages (stable knowledge) 3) /projects/ — active work (plans, decisions, deliverables)

    If you can’t decide where something goes, it goes to /inbox/.

    The schema file: the AI’s instruction manual

    Without a schema, AI “summaries” drift into vibes. Your schema makes outputs consistent.

    Create a file like /schema.yml:

    page_template:
      title: ""
      summary: ""
      key_points: []
      definitions: []
      sources: []
      open_questions: []
      last_updated: ""
    rules:
      - "Do not invent sources."
      - "If a claim is uncertain, mark it."
      - "Prefer bullets over long paragraphs."

    How to automate ingestion (agent‑ready workflow)

    Step 1 — Capture into /inbox/ (daily)

    • paste links with 2–3 lines of context (“why I saved this”)
    • drop meeting notes or voice transcripts
    • store short “decision memos”

    Step 2 — Normalize into /wiki/ (3x per week)

    Prompt template:

    Convert this inbox note into a Wiki page using schema.yml. Keep sources as URLs. Mark uncertain claims as “unverified”.

    Step 3 — Compile into a weekly report (weekly)

    Have the agent generate:

    • “What changed this week”
    • “Top 5 insights”
    • “Decisions made”
    • “Open questions”

    Store it as /projects/weekly-review/2026-04-XX.md.

    Where Claude Code fits (and why it matters)

    Claude Code is useful here because it can operate across files:

    • create new pages,
    • rewrite older ones to match schema,
    • and generate weekly reports—without you manually copy/pasting between tools.

    For non‑developers, the safety rule is simple: require a plan + diff review before any bulk rewrite.

    Common failure modes (and fixes)

    • Too much structure early: start with 3 folders; add complexity later.
    • No “why” context: always add 1–2 lines on why the note matters.
    • No sources: your wiki becomes fiction; enforce the sources field.
    • Sensitive data leaks: keep secrets out of /inbox/; use separate secure storage for credentials.

    Sources and methodology

    • Claude Code product overview (agentic, project‑wide changes): https://www.anthropic.com/product/claude-code
    • Add the original “Karpathy” reference link you’re quoting (tweet/blog) to avoid hearsay.

    *Related: Check out our [comprehensive guide to Claude workflows](https://aitrendheadlines.com/free-claude-learning-guides/).*

  • Claude Code for Non-Developers: Why Terminal Workflows Are Getting Easier

    Claude Code for Non-Developers: Why Terminal Workflows Are Getting Easier

    For most people, the terminal isn’t “hard.” It’s high‑stakes: one wrong command and you worry you’ll break something you don’t know how to fix.

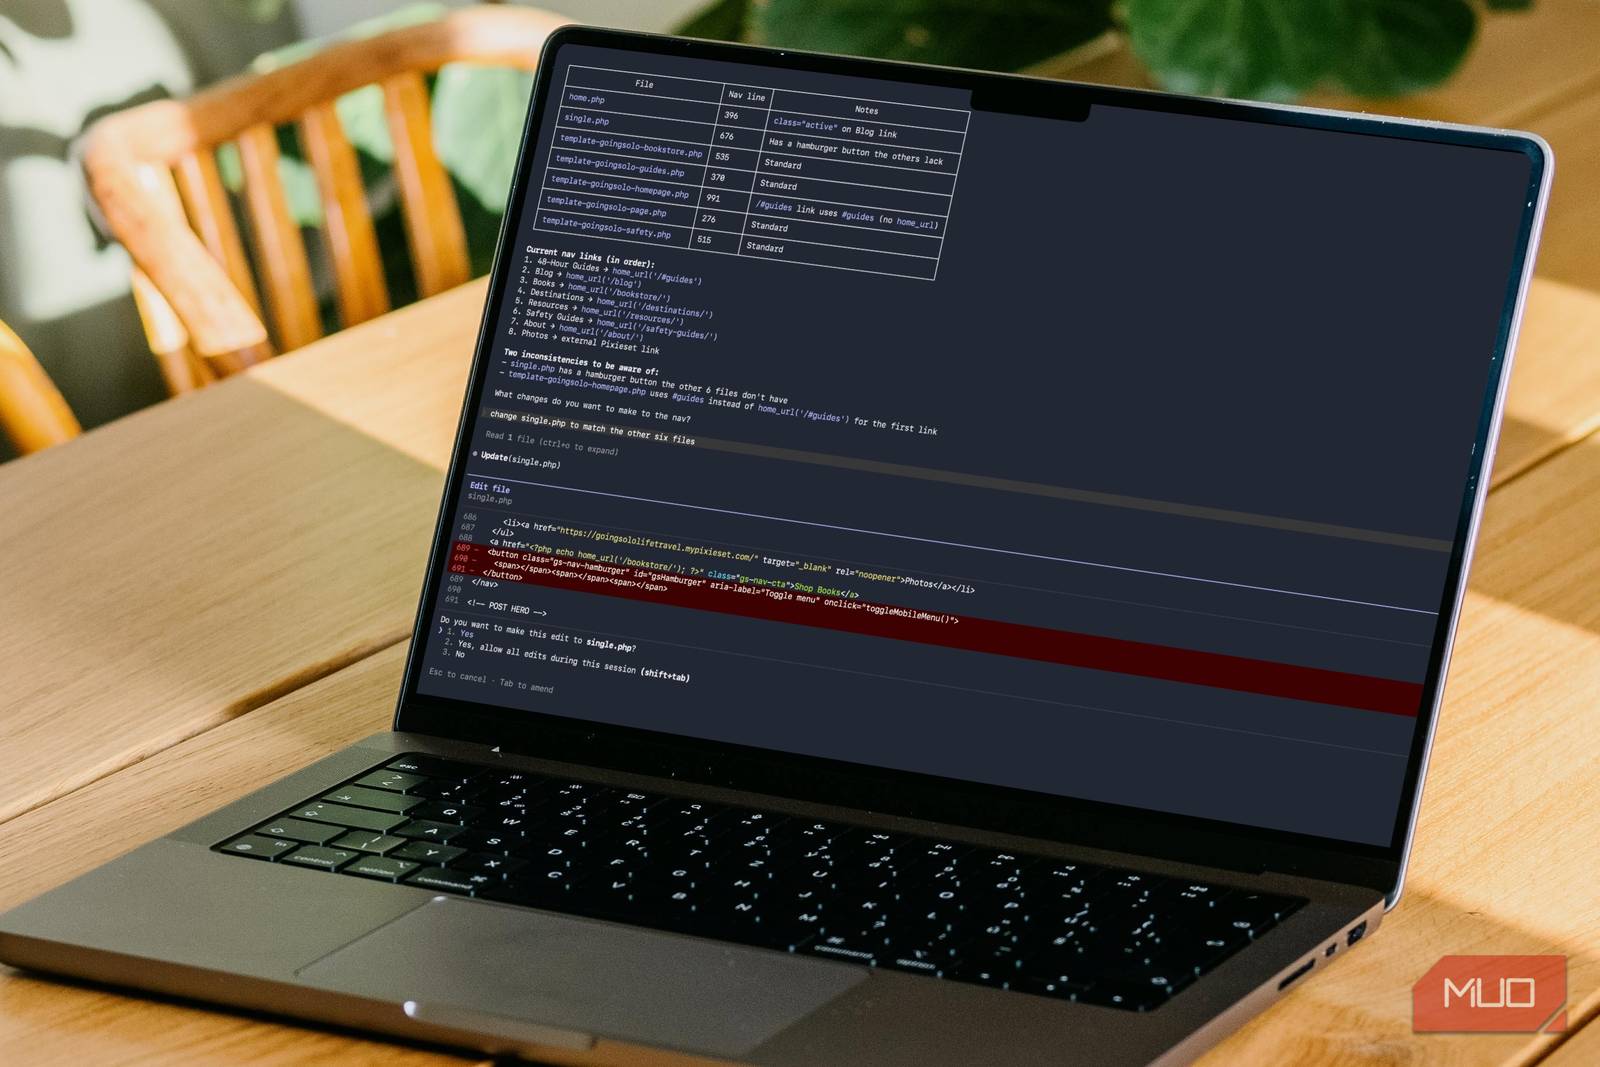
    Claude Code changes that dynamic by acting less like a chatbot and more like an agentic coding system: it can understand a project, propose a plan, and carry out multi‑file changes. That’s powerful for developers—but it’s also the first time non‑developers can realistically benefit from terminal workflows without memorizing syntax.

    The upside is real: faster prototypes, repeatable automations, less tooling friction. The downside is also real: permissions, security, and accountability become the bottleneck.

    Key takeaways

    • Claude Code is designed to operate across an entire project (not just single commands).
    • The best “non‑dev” use is a guardrailed workflow: plan → dry run → review → execute.
    • The biggest failure mode is over‑permissioning (letting an agent run as admin with broad access).
    • Treat “AI + terminal” like “AI + production access”: logs, least privilege, and checkpoints.

    What Claude Code actually is (in plain terms)

    Think of Claude Code as a system that can:

    1) read and understand a codebase or folder, 2) propose a multi‑step plan, and 3) execute changes across files and commands to complete a task.

    That’s a meaningful shift from “copy/paste snippets” to “end‑to‑end task completion.”

    Why this matters for business (not just devs)

    When terminal workflows get easier, three things happen:

    1) More work moves from apps into repeatable scripts (less manual clicking). 2) Ops and analysis become self‑serve for small teams (fewer handoffs). 3) Governance becomes urgent (who is allowed to run what, and when).

    If you’re a founder, analyst, or ops lead, the question is not “can we use it?” It’s:

    • Which workflows should we allow?
    • What data can it touch?
    • How do we review outputs before they cause damage?

    A safe “non‑developer” workflow template

    Use this as a standard operating procedure (SOP):

    1) Start with constraints (not tasks)

    Tell the agent:

    • what it is allowed to read/write (specific folders),
    • what it must never do (delete, reset, publish, deploy),
    • what must be confirmed by a human (network calls, credentials, production changes).

    2) Require a plan before execution

    Ask for:

    • a numbered plan,
    • the exact commands it intends to run,
    • and what files it will change.

    3) Do a dry run / diff review

    For file changes:

    • require a diff,
    • review it like a pull request,
    • then execute.

    4) Log everything

    Keep:

    • a command log,
    • a file‑change log,
    • and a short “what changed / why” note.

    This isn’t bureaucracy—it’s how you prevent “mystery changes” that no one owns.

    The new risks (and how to reduce them)

    • Command injection / unsafe shell usage: constrain tools and require confirmation for destructive commands.
    • Data leakage: do not point the agent at secrets folders, browser profiles, or production credentials.
    • Silent drift: schedule periodic “health checks” (does the workflow still do what you think?).

    Where this pairs perfectly with a “Second Brain”

    If you maintain a folder‑based knowledge base, Claude Code becomes the automation layer that:

    • summarizes new docs into your /inbox/,
    • normalizes notes into consistent schema,
    • and generates weekly “what changed” reports.

    That’s how terminal workflows turn into organizational leverage.

    Sources and methodology

    • Anthropic product page (definition + positioning of Claude Code): https://www.anthropic.com/product/claude-code
    • Claude Code security page (controls / security positioning): https://claude.com/claude-code-security
    • MakeUseOf (non‑dev “terminal fear” framing): https://www.makeuseof.com/i-was-scared-of-the-terminal-until-i-tried-claude-code/

    *Related: Check out our [comprehensive guide to Claude workflows](https://aitrendheadlines.com/free-claude-learning-guides/).*

  • Weather Data and Polymarket Automation: An Overlooked Opportunity

    Weather Data and Polymarket Automation: An Overlooked Opportunity

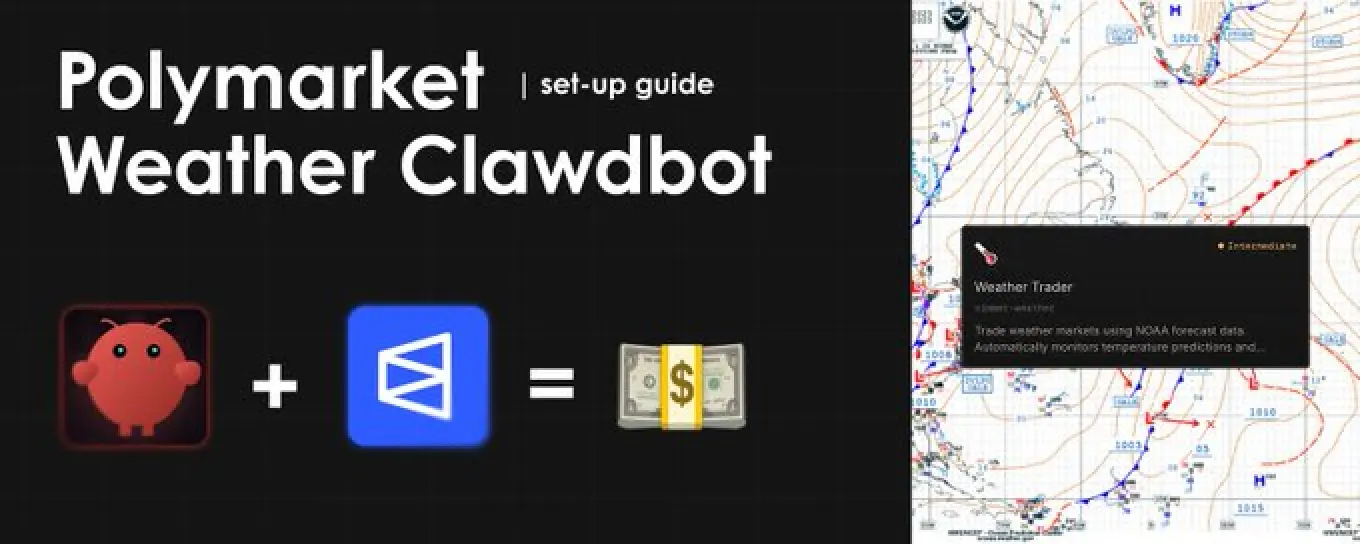
    Weather trading bots are currently going incredibly viral across X (formerly Twitter), and if you haven’t been paying attention, you are missing out on one of the most lucrative trends in decentralized finance. While the masses are losing their money gambling on unpredictable political events or volatile meme coins, a silent group of quantitative traders is printing thousands of dollars monthly.

    How? By utilizing a ridiculously simple arbitrage strategy: automatically comparing completely free NOAA (National Oceanic and Atmospheric Administration) weather forecasts with the live market prices on Polymarket. When the real-world meteorological data doesn’t match the current betting odds, these bots strike, locking in almost guaranteed profits.

    The Proof: Wallets Making Thousands

    This is not theoretical. The transparency of the Polygon blockchain allows us to verify the exact returns of these automated strategies. Here are just two examples of wallets turning massive profits using this exact logic:

    • The London Specialist: One automated wallet famously grew a mere $1,000 initial deposit into over $24,000 since April 2025 by exclusively trading and mastering the London weather markets (view wallet on Polymarket).
    • The Global Scanner: Another highly optimized AI trading bot secured over $65,000 in pure profit by constantly scanning for weather discrepancies across multiple major cities, including NYC, London, and Seoul (view wallet on Polymarket).

    The core logic behind these highly profitable bots is so surprisingly simple that even a 5-year-old could understand the underlying mechanics. The bot simply monitors NOAA weather forecast data 24/7. It automatically compares that raw data to temperature and precipitation predictions on Polymarket, and executes trades at lightning speed the moment the forecasts match the market buckets perfectly.

    Guide: How to Create Your Polymarket Weather Trading Clawdbot

    Using this exact logic, combined with a specialized configuration made available by the Simmer SDK from @TheSpartanLabs, you can build and deploy your very own autonomous weather trading “Clawdbot”.

    Using this comprehensive, step-by-step guide, you will learn exactly how to set this up from scratch, even if you have absolutely zero coding knowledge. The ultimate goal? To run a $100 ? $5,000 automated trading challenge. Let’s get started.

    The 5-Step Clawdbot Blueprint Overview

    First, let’s break down the main steps required to get your Polymarket Clawdbot up and running:

    1. Install Openclaw natively on your Mac, Linux, or Windows machine.
    2. Connect Clawdbot with ChatGPT (for its brain) and a Telegram Bot (for your control center).
    3. Create a Simmer SDK account and deposit the necessary trading funds.
    4. Install the Simmer SDK weather skills directly into your Clawdbot.
    5. Provide the exact “secret configuration” to tell your Clawdbot how to trade.

    This simple 5-step guide will bring you your own autonomous weather trading Clawdbot, designed to print profit even while you are sleeping.

    Step 1: Install Openclaw on Your Device

    OpenClaw is a revolutionary, free, and open-source personal AI assistant. Unlike web-based chatbots, Openclaw runs locally on your computer and possesses the ability to actually execute tasks autonomously on your behalf-including trading.

    To install it on your device, open the terminal (or PowerShell) on your computer and run the following one-liner code corresponding to your operating system.

    For Mac / Linux users:

    curl -fsSL https://openclaw.ai/install.sh | bash

    For Windows (PowerShell) users:

    iwr -useb https://openclaw.ai/install.ps1 | iex

    After the installation process successfully completes, run the command openclaw onboard in your terminal to begin the vital onboarding process.

    Step 2: The Openclaw Onboarding Process

    The Openclaw onboarding is a simple, guided step-by-step process designed to prepare your Clawdbot for active duty and connect it to its reasoning engine (ChatGPT) and your communication interface (Telegram).

    • Risk Approval: First, you need to explicitly approve that you understand all the risks involved in using an autonomous agent like Openclaw on your device. Press: Yes.
    • Onboard mode: Select Quick Start.
    • Model/Auth provider: Choose OpenAI (Codex OAuth + API key).
    • OpenAI auth method: Select OpenAI Codex (ChatGPT Auth).

    After completing this step, you will be automatically redirected to the ChatGPT login page in your web browser. Here, you need to connect your ChatGPT account. Note: Having a paid “Plus” subscription is highly recommended to avoid rate limits during active trading.

    After a successful login, navigate back to your terminal window and choose the model: (openai-codex/gpt-5.2) or the highest equivalent available. Then, you will be asked what channel to connect for daily communication with your Clawdbot. For this guide, choose: Telegram (Bot API).

    Step 3: Connect Your Telegram Command Center

    Telegram will serve as your remote control. You won’t need to keep looking at your terminal; your bot will report to you directly via chat.

    1. To create your TG bot, open the Telegram app and search for the official @BotFather.
    2. Run the /newbot command.
    3. Give your bot a display name and a unique @nickname.

    As a result, BotFather will generate a long string of text known as a bot access token. Copy this token and paste it directly into your terminal prompt.

    Then, continue the onboarding sequence in the terminal:

    • Configure skills now: YES
    • Preferred node manager: npm
    • Install missing skill dependencies: Skip for now

    Choose “NO” on all subsequent extra API connections and finally select Start Gateway. After the gateway is fully installed, choose Hatch in TUI to start talking to your agent at the Command Line Interface (CLI).

    Now, open your newly created Telegram bot on your phone or desktop, press /start, and it will reply with a unique “pairing code”. Enter this specific command in your terminal to link them:

    openclaw pairing approve telegram <your_pairing_code_here>

    After it’s done, the connection is live. You can now start communicating with your Clawdbot directly through your Telegram app.

    Step 4: Create & Fund Your Simmer SDK Account

    Simmer SDK is the critical infrastructure layer. It is a specialized prediction market platform built by @TheSpartanLabs where AI agents securely trade against each other. It comes with a massive pre-trained skill base for Polymarket trading bots-covering everything from weather trading and copy-trading to signal sniping and complex arbitrage.

    We need to create a secure wallet and an agent profile on simmer.markets, and then provide this access info to our Clawdbot.

    1. Navigate to simmer.markets in your browser, connect your standard EVM wallet (like MetaMask or Rabby), and create your account.
    2. Click the wallet button located in the top right corner to generate your dedicated “agent wallet”. This is the isolated wallet the bot will use.
    3. Deposit $USDE.e (the stablecoin used for trading on Polymarket) and a small amount of $POL (to cover Polygon network gas fees) into your newly created agent wallet.

    Congratulations. Your AI agent now has real, liquid money available to execute trades on Polymarket.

    Step 5: Set Up Your Weather Trading Clawdbot

    Now for the final and most exciting phase: we need to seamlessly connect our Clawdbot to the Simmer agent, install the specific weather trading skills, and feed it the optimized configuration for trading.

    Enter the “overview” tab on your Simmer agent page. Choose the “manual” installation method and copy the provided message, which should look exactly like this:

    Read https://simmer.markets/skill.md and follow the instructions to join Simmer

    Send this exact message to your Clawdbot right inside your Telegram chat. He will read it, process it, and send you back a unique link to authorize your simmer agent. Press “claim agent” on that link and approve the transaction in your web wallet.

    Then, open the “skill” tab on the agent page and choose “weather trader”. Copy the installation command and send it to your Clawdbot in Telegram:

    clawhub install simmer-weather

    The Winning Configuration Strategy

    Now your bot is fully installed and structurally ready for trading weather on Polymarket. All you need to do is set up the right configuration parameters and command him to start trading.

    Copy and send this exact configuration message to your Clawdbot in Telegram to dictate its risk management and targeting:

    Entry threshold: 15% (buy below this)
    Exit threshold:  45% (sell above this) 
    Max position:    $2.00
    Locations: NYC, Chicago, Seattle, Atlanta, Dallas, Miami
    Max trades/run: 5 
    Safeguards: Enabled
    Trend detection: Enabled
    Run scan: every 2 minutes

    Understanding Your Bot’s Strategy

    Let’s break down why this configuration is so powerful. By setting an Entry threshold of 15%, the bot is only looking for severely undervalued opportunities where the market is ignoring the NOAA data. The Max position of $2.00 ensures strict bankroll management, meaning no single freak weather event can liquidate your account. By scanning every 2 minutes across 6 major US locations, the bot creates a massive net to catch discrepancies before human traders even refresh their screens.

    Now your Clawdbot has officially started to search for undervalued opportunities on Polymarket, autonomously executing trades the microsecond it finds under-valued events.

    Many quantitative traders are currently testing variations of this exact configuration for their Polymarket weather trading Clawdbots. As you monitor its success rate in your Telegram chat, you can adjust these variables to find the ultimate optimized setup.

    Your main target for now? Run a strict $100 to $5000 challenge using your newly deployed weather Clawdbot. Let the AI do the heavy lifting, and watch the blockchain do the rest.

    Read More from AI Trend Headlines:

    *Keep Reading: [How AI is transforming Polymarket trading strategies](https://aitrendheadlines.com/claude-polymarket-wallet-analyzer/).*

  • Anthropic Launches Claude Managed Agents to Simplify Cloud Automation

    Anthropic Launches Claude Managed Agents to Simplify Cloud Automation

    Moving an AI agent from a local laptop to an enterprise-grade production environment is a massive technical hurdle. You cannot just leave a terminal window open on your MacBook and expect 99.9% uptime. To Scale OpenClaw, you need to think about containerization, load balancing, and secure key management.

    1. Containerization with Docker

    The first step in scaling is moving OpenClaw into a Docker Container. This ensures that your agent has the exact same environment whether it’s running on your PC or an AWS server. It also allows you to restart the agent automatically if it crashes due to a memory leak or a network error.

    2. Distributed “Brain” vs. Local Execution

    Enterprise scaling often involves a “Hybrid” approach. You run the OpenClaw orchestrator on a lightweight cloud server, but you offload the heavy model reasoning to a dedicated GPU cluster or a high-performance API provider like OpenRouter. This separates the “action” from the “thinking,” allowing you to scale horizontally.

    3. Secure Vaults for Private Keys

    In an enterprise setting, you cannot keep your Polymarket private keys in a plain .env file. Scaling requires integrating with secret managers like HashiCorp Vault or AWS Secrets Manager. Your agent should only “see” the key during the millisecond it needs to sign a transaction, keeping your funds safe from server breaches.

    *Keep Reading: [How AI is transforming Polymarket trading strategies](https://aitrendheadlines.com/claude-polymarket-wallet-analyzer/).*
  • Claude Code and OpenClaw: Practical Automation Tools for Business Leaders

    Claude Code and OpenClaw: Practical Automation Tools for Business Leaders

    ## Detailed Analysis: Claude Code and OpenClaw: Practical Automation Tools for Business Leaders

    Claude Code and OpenClaw are emerging as key tools for businesses aiming to enhance workflow automation with simplicity and precision.

    In the evolving landscape of business technology, automation tools are becoming indispensable for improving operational efficiency. Claude Code, developed by Anthropic, and OpenClaw are two noteworthy platforms gaining traction among workflow automation teams. Each offers distinct approaches to simplifying complex processes, making them attractive options for executives seeking practical solutions.

    Claude Code is an extension of Anthropic’s Claude AI, designed to facilitate the automation of tasks by translating natural language instructions into executable code. This tool is particularly useful for teams that want to automate repetitive workflows without deep programming expertise. By interpreting user intent expressed in plain language, Claude Code can generate scripts or code snippets that integrate with various business systems, reducing the time and technical barrier traditionally associated with automation projects.

    On the other hand, OpenClaw provides a robust framework focused on automating and orchestrating complex workflows across different applications and platforms. Its strength lies in enabling businesses to connect disparate software tools seamlessly, allowing for streamlined data flows and task management. OpenClaw appeals especially to organizations looking for scalable automation solutions that can adapt to evolving operational needs.

    Both Claude Code and OpenClaw resonate with the growing demand for automation that is both accessible and adaptable. For business leaders, these tools represent opportunities to reduce manual workload, minimize errors, and accelerate process execution. Their adoption can lead to improved responsiveness and agility, crucial factors in competitive markets.

    While Polymarket continues to offer insights through prediction markets, tools like Claude Code and OpenClaw focus on internal business efficiencies, complementing the external intelligence landscape. As automation becomes a strategic priority, understanding and leveraging these platforms can provide executives with practical pathways to enhance productivity and innovation.

    In conclusion, Claude Code and OpenClaw exemplify how automation technology is evolving to meet the needs of modern business teams. By simplifying the creation and management of automated workflows, they help organizations stay efficient and responsive in a fast-paced environment. Business leaders interested in automation should consider these tools as part of their broader technology strategy.

    Related reading: Polymarket Explained for Executives: A Practical Look at Prediction Markets, Claude Code Leak Draws New Attention to Anthropic’s Developer Tools, and REJECT vs. AGELITE: Polymarket Insights and Automation Trends for April 6, 2026.

    *Keep Reading: [How AI is transforming Polymarket trading strategies](https://aitrendheadlines.com/claude-polymarket-wallet-analyzer/).*